Make comics balloons with Photoshop
Le août 12th, 2009Translation of my tutorial on how to make a speaking balloon on your comics easily.
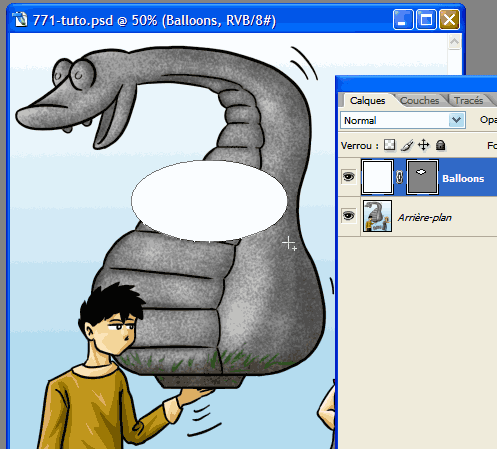
In your image, create a layer on the top, fill it with white paint, and name it « balloons ».
Then, go to the menu Layer > Vector Mask > Hide All

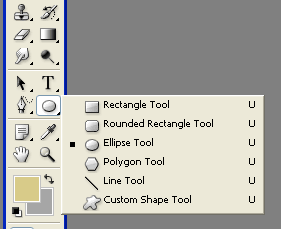
After, take the Ellipse tool tips in the vector drawings tools.
You can also take the rectangle or rectangle with rounded edges, and even draw the balloons all with the vector pen, but let’s keep it simple at the moment.
In its options which have emerged on top, click on the icon showed by the left red arrow, then select (if it isn’t already) the icon showed by the right red arrow.

Make an oval in your drawing. It’s content will appear as white. You should see something like this:
Double-click on Balloons’ layer, to open « Layer Styles« . Click on the last on bottom-left: « Stroke« .
Click on the color and select black. Keep all other options the same, except for the size, which vary depending on the size of your drawing.
If you work directly on a size « web », 1 or 2 pixels is enough. If you have scanned your manga at 300 dpi, 8px will surely be better.
Your balloons layer is ready. You can add other types of balloons depending on your style and what you can do with vectorial. Here are some examples.
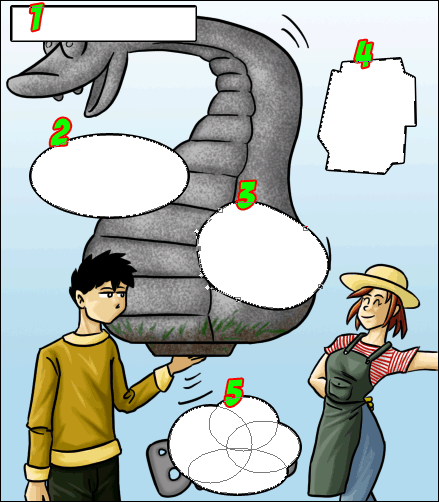
- Simple rectangle for narration.
- Simple ellipse for oval balloons (not the most effective for text).
- Balloon made with the Pen Tool with Bézier curves, the shape you want.
- Balloon made with the Pen Tool also, but just clicking from point to point, it’s easier.
- Many ellipses, which form a kind of cloud
Click on another layer to no longer see the vector lines and admire the result.
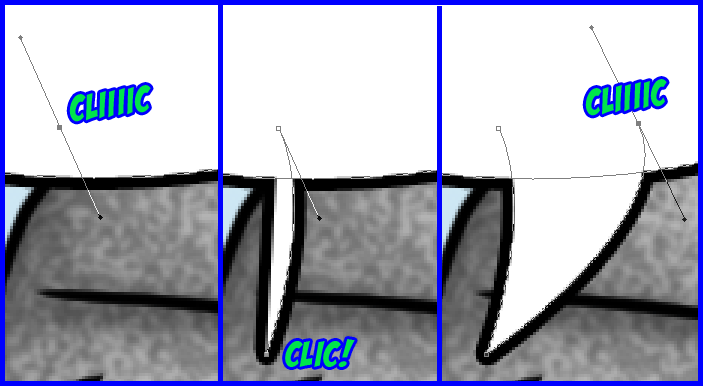
Now we will add the « tail of balloons. » For sharp ones, use the pen, for the thoughts, some circles, and for talking, I always copy-paste the same form that I draw in vectorial.
How to create the vectorial tail?
Take the Pen Tool and zoom somewhere (or you will reduce the form after. With the vector, everything is changed at will).
Click and without releasing the click, move, which will create segments of Béziers or I don’t know what.
Then, go a little lower and use a quick click this time. This will be the end of the tail, it needs to be sharp (and the segments things aren’t pointy).
Then go in the top right, and do again a « long ».
That’s all, no need to close.
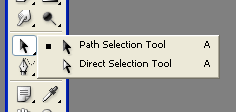 If you are not happy with the result, no need to start again. You can edit the pieces of your shape with the selection tools. The black arrow takes an entire form, the white arrow lets you move a single point, or the ends of curve segments.
With the black arrow I copy-paste the balloons and tails of balloons that I like, then adapt then by deforming with Ctrl + t (here, the tail of the right balloon is modified)
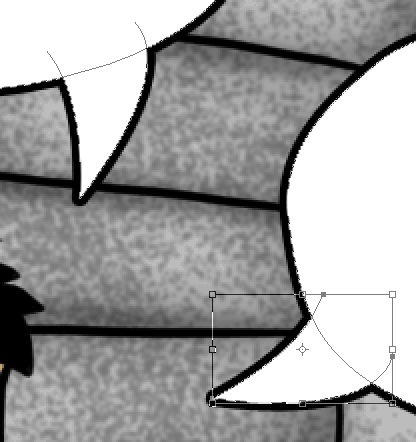
Result :
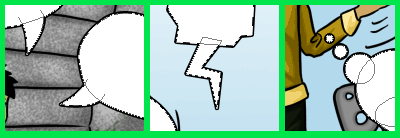
Copied tail, simple clicks on the pen, and circles for the thought (press Shift to make circles instead of ovals)
Folks, two tutorials for the price of one! Here’s how to do a good text.
Choose a good writing font. It is important to be readable. Go take a look on DaFont and take what you like.
With the text tool, go into a bubble, click, keep pressed, and draw a rectangle. Then write your text in it, is not it wonderful?
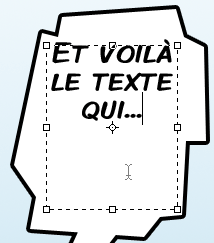
Fiddle a bit the text options, you will find cool things. I recommend in particular to choose the menu for sharpness: Sharp, Crisp or Strong but not « None » which is ugly.
I put all my texts in a group, so that it can close and not take up too much space.
When I have to do the translation, I duplicate the group, then copy-paste the translation into the text boxes that are already ready!
If you want some balloons on the top of others, made two layers « Balloons » (duplicate the first).
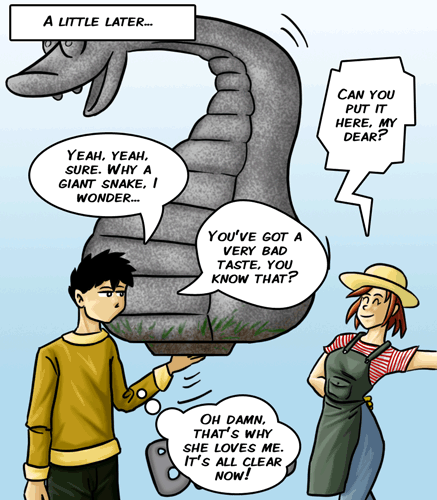
Final result: